DLP vs LCD 3D Printer: The Main Differences
If you’re considering a DLP vs. LCD 3D printer, it’s important to learn what sets them apart. Read on to learn all about their differences!
Resin 3D printing is increasing in popularity, and so are the new and improved technologies in this field. Each year, higher definition models are released alongside more advanced materials, improved firmware and slicing software, and much more. It would be easy to get lost in the ocean of options available, but all of the newest models still share one thing in common: They’re all vat polymerization 3D printers.
Vat polymerization technologies involve a photosensitive resin cured by a light source to produce solid layers and, eventually, whole parts. The layers are the transversal sections of the model, generated beforehand by a slicer program. The resin is contained within a vat, or tank, and is cured against a build platform, which slowly rises out of the tank as the part is formed. The main difference between the three technologies discussed here is the light source. Let’s see what sets them apart.
This technology comes in three main flavors: SLA, DLP, and LCD. It’s often common to mix up those names. But with more and more DLP printers approaching the market, it’s important to learn to distinguish them. This article will go over all the similarities and differences between LCD and DLP printers, as well as cover what is available on the market today and whether it’s the right choice for you.
But first, let’s briefly overview the main technologies out there.
Vat Polymerization
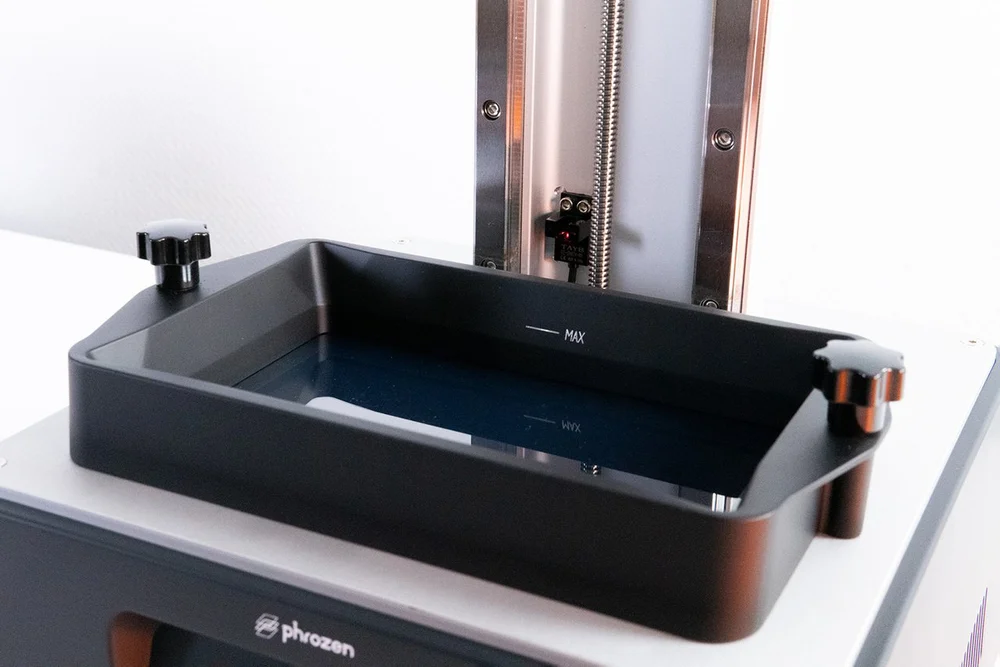
While many other technologies involve resins and light sources, we’ll focus on the three most widespread.
SLA
The most well-known and oldest of the three is stereolithography, or SLA for short. It uses a laser, directed by galvanometers, to cure the resin. Galvanometers can be thought of as mirrors used to guide the laser beam through the transparent tank bottom to a particular point on the build platform. Throughout the years, the term “SLA printing” has been used as a synonym for resin printing. As we’ll later see, this is only one of the processes that are part of the vast family of resin printing. Hereby, we’ll use the term SLA to refer to this technique only.
DLP
Digital light processing (DLP) uses a digital light projector to cure the resin. It flashes images of whole layers onto the bottom of the vat. Light is selectively directed using a digital micromirror device (DMD), which is a component consisting of hundreds of thousands of tiny mirrors.
Layers generated using DLP printers consist of so-called voxels, the 3D equivalent of pixels. The technology at the core was first invented by Texas Instruments and is the same as a home cinema projector – minus all the methods used to project colors.
LCD
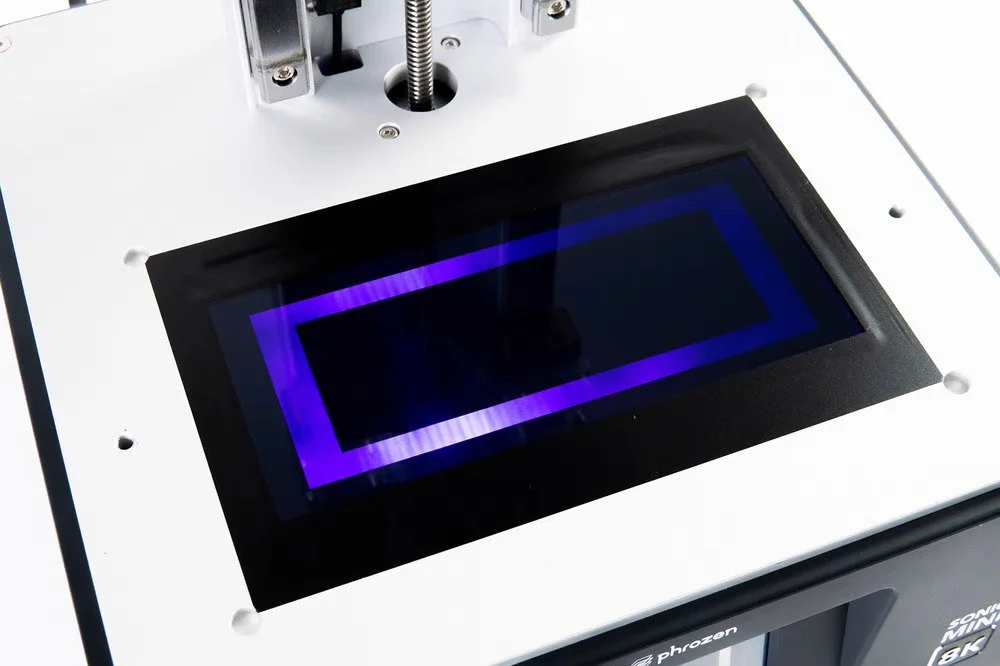
Finally, the most common among hobbyists and makers are liquid-crystal display (LCD) printers. LCD 3D printing is nearly the same as DLP: It also flashes complete layers at the resin tank but with the UV light coming from an array of LEDs shining through an LCD screen, not a projector.
The screen acts as a mask, revealing only the pixels necessary for the current layer and blacking out the rest. This particular technique is often referred to as “Masked SLA”, or MSLA.
Other Technologies
It’s always better to look at a 3D printing technology not as a standalone do-it-all process but rather as one piece in the greater puzzle of additive manufacturing. What are other techniques broadly used in this field? The market for 3D printers is immense, so we’ll talk about the two most widespread.
SLS
Select laser sintering (SLS) is similar to the SLA process in many aspects but belongs to the Powder Bed Fusion family of processes. SLS uses a polymer powder instead of a liquid resin. A controlled laser beam fuses the powder together, then a new layer of powder is deposited on top of the previous one.
The main difference with SLA is in the costs and types of material that can be printed. Powders can be made out of metals, too, while SLA can only print polymers.
FDM
Fused deposition modeling (FDM) varies greatly in terms of materials and processes. Instead of a vat, a bed plate is used, and fused material is deposed from the top. For FDM, the material choice is quite vast, including hard polymers, rubberized materials, metals, and high-performance plastics. It usually comes in the form of spools of filament. The low cost and easy learning curve, added to the cheap price of filaments (like PLA), make these machines extremely popular among makers.
Similarities
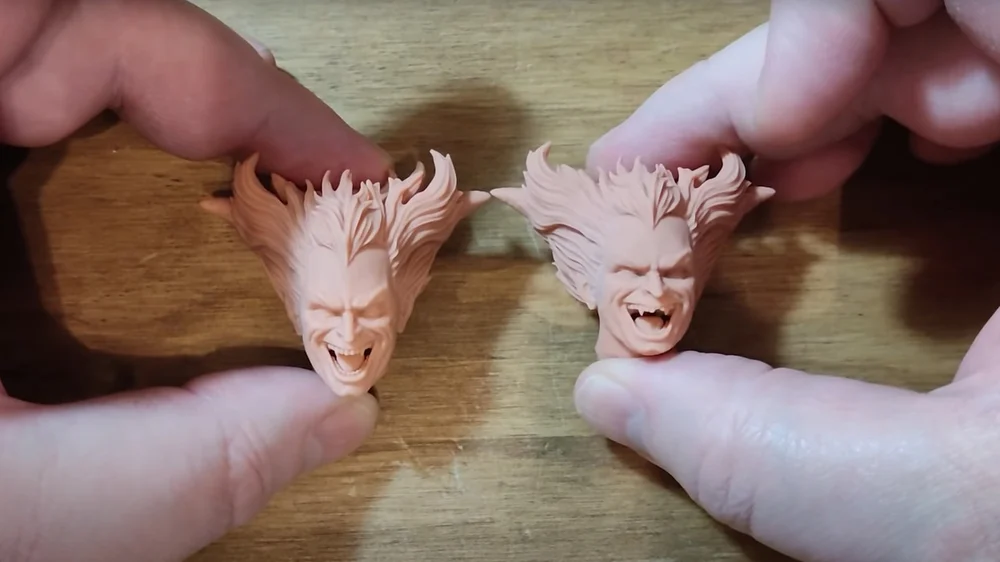
The differences between an LCD (left) and a DLP (right) print are quite hard to spot
Now that we’ve covered the various technologies, let’s focus on DLP and LCD, specifically the similarities and differences between them. Both technologies rely on a vat to hold the liquid resin. The bottom of the vat is fitted with a transparent release film commonly made out of fluorinated ethylene propylene (FEP), that allows for the cured resin to pop off without tearing apart.
The motion system is also similar. A metal build plate is lowered into the vat and serves as the building surface for the model. This renders the operation of the 3D printer itself virtually identical, allowing for the interchangeability of spare parts and modifications.
They both use a UV light stream to cure the resin – albeit by filtering and redirecting it in different ways. While not being a standard, the most adopted wavelength for both resin and light sources is 405 nm. This means that, except for proprietary products and machines, there’s no difference in the resin used by DLP and LCD printers. The only limiting factor when choosing resins is the aforementioned curing wavelength.
The benefit that both DLP and LCD share, when compared to SLA, is print speed. Because there’s an entire layer flashed at once, instead of a single point, the two technologies are typically able to produce parts faster.
And post-processing techniques (washing and curing) are common to both technologies.
Now, let’s dive deep into the two and discuss the strengths and weaknesses of each one.
DLP Technology
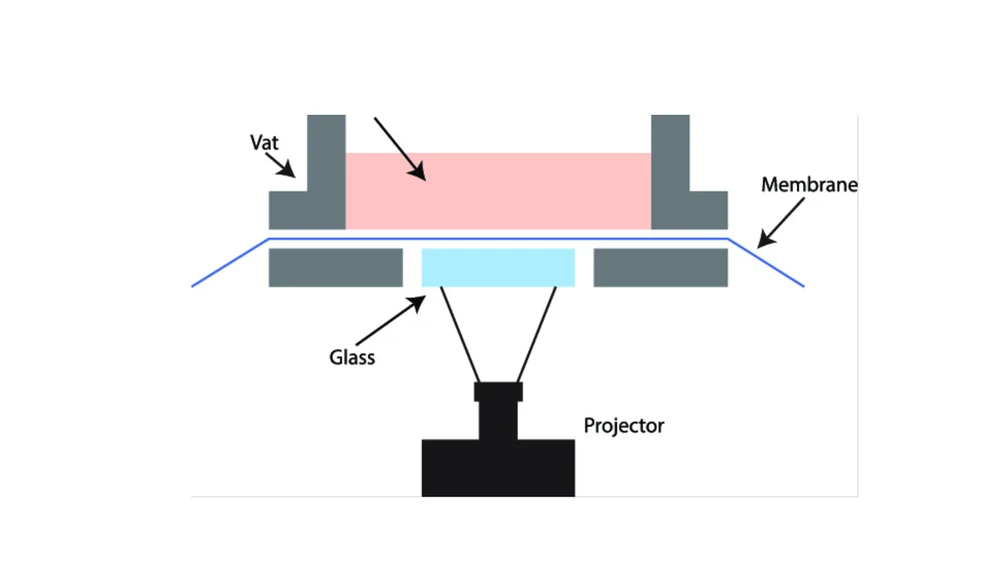
The DMD and lens play a crucial role in compensating for distortions
Out of the two technologies, DLP is more common in the professional field. It’s oftentimes regarded as more precise compared to LCD, and many attribute this to the fact that only the pixels needed are illuminated. This might seem trivial, but it’s far from it. Below, we’ll discuss the strengths and weaknesses of DLP’s distinctive light source and its capabilities.
Strengths
As we mentioned above, the screen on an LCD printer creates a mask that blocks the incoming light. But since the light source isn’t perfectly vertical to the screen, a few rays will eventually scatter around the borders of the silhouette and solidify where they shouldn’t. Although the error created by this light bleed is minimal and in the order of hundreds of a millimeter, it is still present.
DLP solves this by emitting light only where necessary and not throughout the entire platform. This flexibility allows for the printer to scale up or down the projected image (unlike an LCD screen with fixed pixel sizes). It’s also possible to focus on a specific area of the print and possibly increase the local resolution. This usually leads to more dimensionally accurate prints, especially for small objects. Unfortunately, as we’ll see later, it also has major drawbacks.
The other great selling point for light projecting is the lifespan of the projector itself. It’s often claimed to have a life expectancy that is 10 times the lifespan of a monochrome LCD screen. That’s quite a significant bump and will help spread the machine cost over a longer time span.
The absence of an LCD screen under the vat could also be considered an advantage of DLP 3D printers. Most resin printers, regardless of technology, have a standard anti-scratch film protector covering the glass layer above the light source, but it isn’t resin-proof. For LCD resin printers, this glass layer is an LCD screen, while the layer on DLP resin printers is simply a protective glass. In case of a resin spill, a DLP printer’s projector isn’t damaged; only the top glass layer will need to be cleaned. The risk to an LCD screen, however, is somewhat higher.
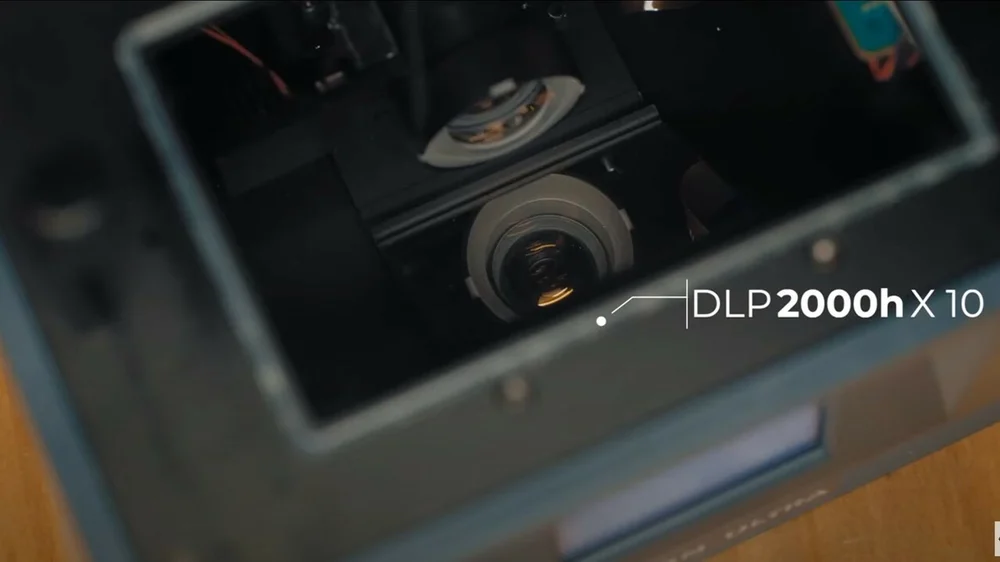
The Anycubic Photon Ultra’s projector boasts a lifespan of 20,000 printing hours
Weaknesses
Now, onto the downsides. DLP projectors create an image of a layer by shining light through a lens to a DMD, which must then direct the light to the bottom of the resin tank. As such, the light coming from a DLP projector must expand from a small source to cover a wider area. This essentially means wide models have an increased chance of having distorted pixels at their edges. This is slightly different compared to the aforementioned light bleed issue with LCD printers, as DLP’s potential for distortion is proportional to the distance from the center of the platform.
Furthermore, the number of pixels on a DLP projector is the same regardless of the size of the print. That means smaller and narrower prints can have higher precision than wider prints done on the same DLP printer.
To visualize this effect, think of a photo you’ve taken on your smartphone. As you zoom in on the photo, the sharpness declines. That’s exactly what happens when printing big objects on a DLP printer: They’re “zoomed out”. That said, it’s important to keep in mind that distortion is accounted for on more professional devices, which have better quality components. Additionally, the “zooming out” issue doesn’t necessarily imply that a DLP printer has poor print quality, only that its resolution is more concentrated for smaller prints.
With regard to resolution, as common sense suggests, a 4K projector is wildly expensive, especially if compared to a 4K monitor. For this reason, a commercial DLP printer’s pixel resolution is often limited to full high definition (FHD). This, added to the fact that the DLP doesn’t scale really well with increased print areas, makes LCD the go-to technology for large resin machines. Entry-level LCD 3D printers often boast a 4K pixel resolution at a lower price.
LCD Technology
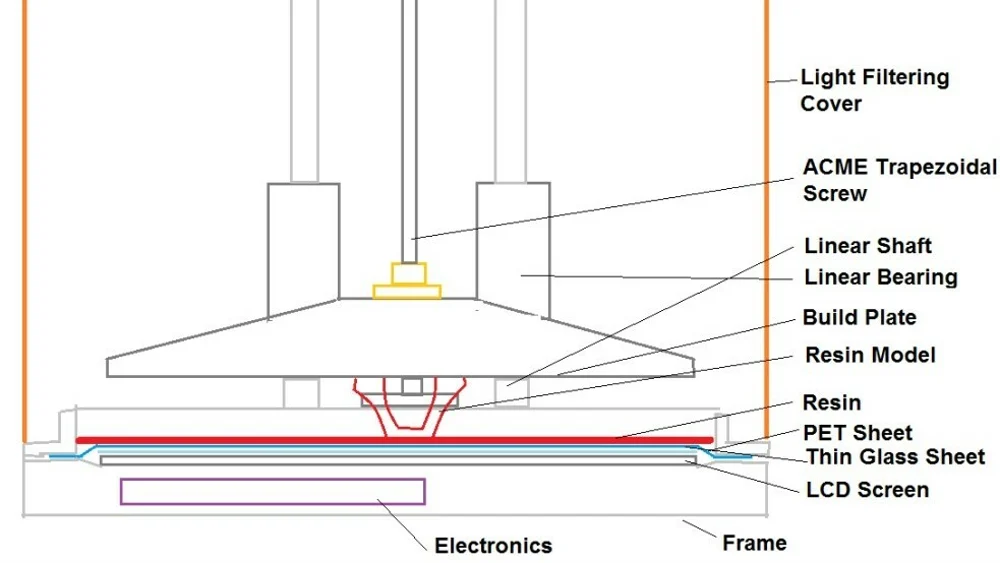
It’s crucial for the LED light to be oriented perfectly vertical under the LCD screen
In recent years, LCD 3D printers took the hobbyist market by a swarm, with competitive prices and the promise of a far superior print quality compared to FDM. Although we discussed a few of the technology’s strengths and weaknesses in comparison to DLP printers’ strengths above, here are a few more.
Strengths
The print quality of an LCD printer depends on its LCD density and the size of the printer. The more pixels it has, the better the print quality. We’re also starting to see 8K printers with massive build areas, a thing that DLP will struggle to achieve due to the limitations and cost of projection technology.
And while a monochrome screen might ensure as little as 2,000 hours of operation, a spare can carry a retail value ranging from $50 for smaller 4K screens to hundreds of dollars for bigger, 8K models. While it’s unclear how much will spare projectors cost, they surely won’t be as cheap.
Weaknesses
LCD 3D printers use an array of UV LEDs as a light source. The light from the flat LCD panels shines directly onto the build area in a parallel fashion. As the whole screen is lit up at once, light bleeds through the edges. Fortunately, the light bleed is uniform, as it’s more or less a fixed offset – which allows for an easy calibration via the slicer.
Printing
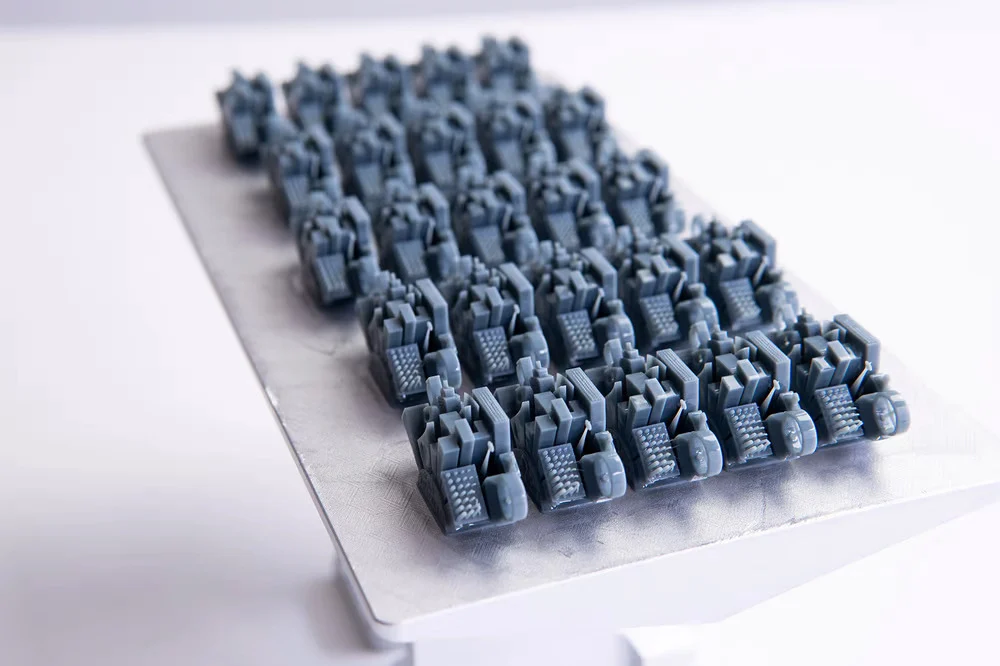
The speeds reached by DLP and LCD are very similar
As we’ve mentioned before, DLP and LCD often share the same motion system, vat, and FEP, making the calibration and setup process practically identical. Of course, it’s always best to refer to the manufacturer’s guidelines when it comes to printer setup. Below, we compare DLP and LCD resin printing with regard to slicing and print quality.
Slicing
Slicing is also, in many aspects, similar. Slicers like ChiTuBox, Lychee, and Formware3D support both technologies. The only limiting factor, in this case, is the manufacturer’s choice of software. If a company decides to keep an internally developed slicer, no other programs will work with those machines. This usually happens only for high-end 3D printers, which tend to require a high level of software specialization. Conversely, if the specifications and file extensions are released to third-party developers, they’ll be supported by other slicers.
Support generation, hollowing, and orientation will not be affected by different light sources. This section of the slicing process remains unchanged, although, with slicing for DLP, it’s recommended to put the model in the center of the plate. The model will be distorted less this way.
Similarly, for prints made of multiple parts, it’s better to group those in the center. The smaller the light beam can be scaled down, the more resolution it will pack. This benefit, however, is mostly limited to industrial DLP 3D printers, as zone focus and variable zoom features aren’t typically available on lower-end models. For example, the Anycubic Photon Ultra and the Flashforge Hunter have fixed-focus lenses and no way of redirecting or zooming on a specific area of the print (possibly in a multi-passage curing cycle).
Print Quality
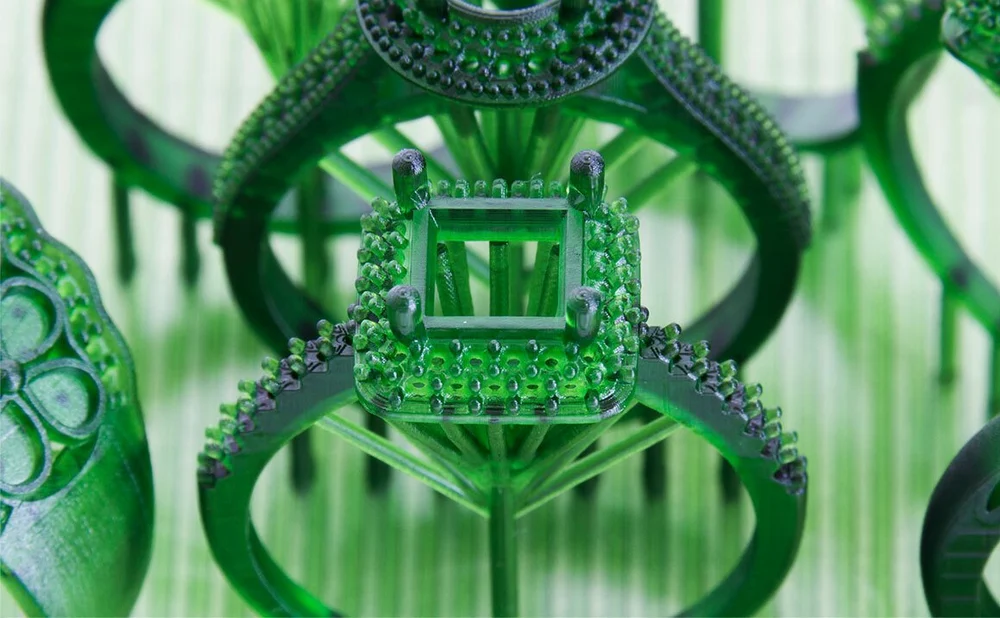
DLP printer manufacturers love to show off DLP’s crisp details
Prints made with DLP have a variable surface quality and might show more evident voxels depending on the size and placement of the model.This effect can be reduced with the use of anti-aliasing or by printing fewer objects per batch.
It’s also important to keep in mind that for both LCD and DLP, the difference in light distribution and pixel distortion throughout the print area will also result in different tolerances and gaps. In some cases, this can be compensated for in the slicer, but for the best possible results, it has to be accounted for while placing the part.
A good way of testing the overall accuracy of a resin 3D printer is to print a calibration piece in different parts of the area, then compare the results with a caliper. This will give you an idea of the distortion throughout the build plate.
Material
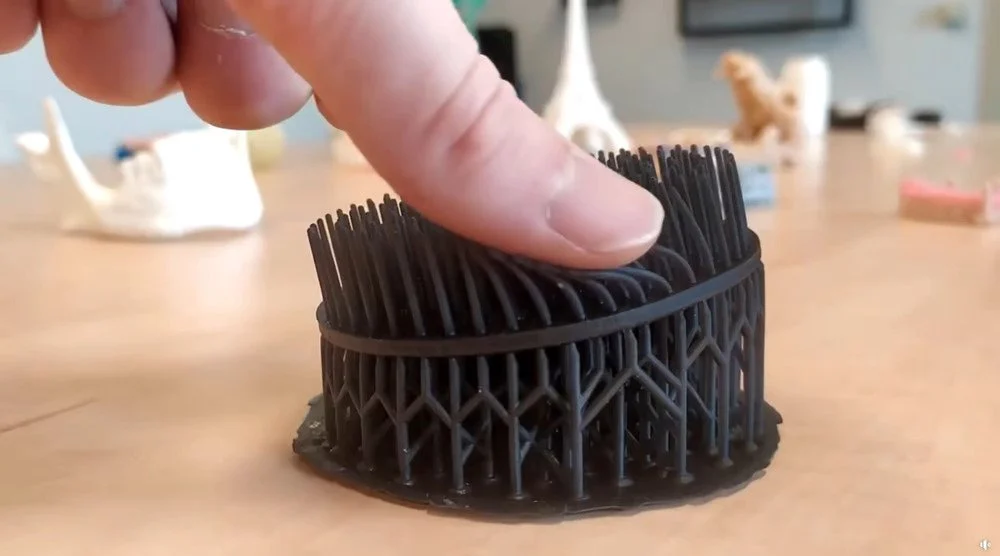
Both technologies can support the same materials, even the flexible ones
As previously discussed, the material used by a printer is defined by the wavelength used. The wavelength for consumer printers is indicated both on the resin package as well as in the printer’s manual. Trying to mix different values will result in failure, as the resin will not fully cure.
Since the inception of UV-cured resins predates the advent of resin 3D printers, the industry had time to adjust the formulas. Today, most of the products will cure in the 385- to 405-nm range. Therefore, assuming that the wavelengths are the same, most resins meant for LCD printers are suitable for DLP printers and vice-versa. The exception here is represented by proprietary products, which limit the user to their lineup of materials only.
It’s also worth mentioning that certain high-resolution LCD and DLP printers will benefit from a high-resolution, purpose-made resin, like the Phrozen 8K Aqua Gray or the upcoming Elegoo 8K resin. At this point in time, however, there are no DLP printers on the market that break past 4K resolutions and still have an open material system.
SLA Resins
SLA resin is often incompatible with DLP and LCD printers, as the laser operates in a completely different section of the light spectrum. While many manufacturers – especially those oriented to the prosumer market too – still mount lasers in the 385- to 405-nm range, it’s not as much of a standard as it is with LCD consumer printers.
Comparing the resin offerings for a few different brands, we find curing wavelengths ranging from 355 nm on the low end to 460 nm on the high end. The disparity in the wavelengths used is distant enough to disallow the wholesale interoperability of materials across SLA, DLP, and LCD technologies. Further, virtually every SLA machine on the market uses a closed and proprietary material system, rendering the idea of swapping resins not feasible.
Applications
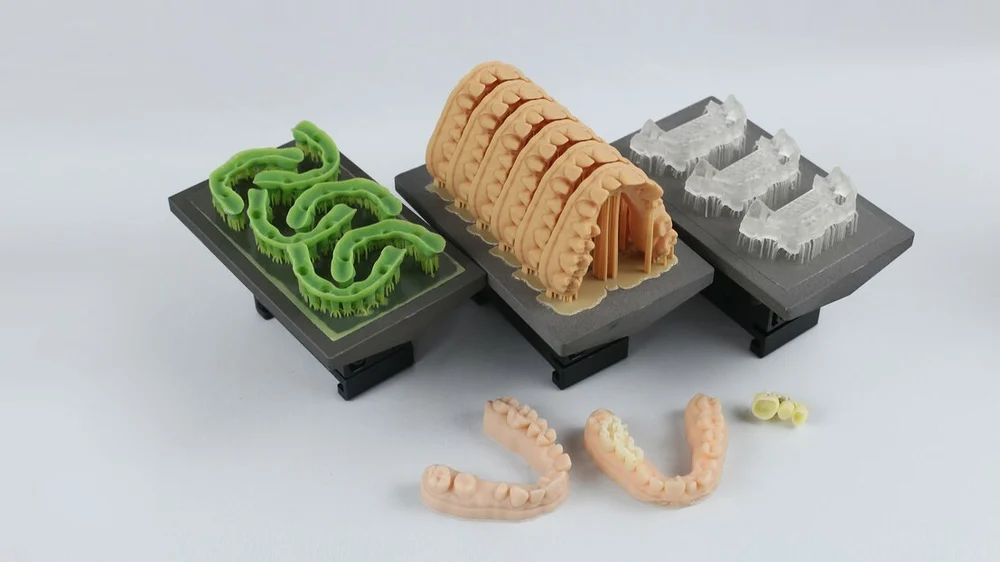
One of the fields that uses resin printer daily is the dental one
Both DLP and LCD are used in the dental, jewelry, and engineering industries, just to mention a few. Naturally, there are also a fair number of hobbyists using both types of printers, with LCD having a substantial edge over its cousin DLP. Looking at the market, the general trend is that DLP printers are the more expensive, professional machines. LCD, a more recent technology, has so far been seen mostly in affordable, desktop printers.
As mentioned earlier, cheaper DLP printers sometimes suffer from minor voxel distortion. However, that potential issue becomes less of a problem if one invests a little more money. With higher quality printers comes higher quality hardware and software that’s designed to correct for distortion.
In general, LCD 3D printers use cheaper components than DLP 3D printers, making them a cheaper resin 3D printing solution. This is a great thing because it extends the reach of resin 3D printing to a wider audience of makers.
Both DLP and LCD are able of achieving fast print speeds and great details, but as the price tag grows, the DLP 3D printers start to trump their LCD counterparts. If you’re a professional who needs high detail and fast print speeds, look into professional DLP printers. On the other hand, if you’re a beginner to resin 3D printing, LCD would be a great choice.
Pricing
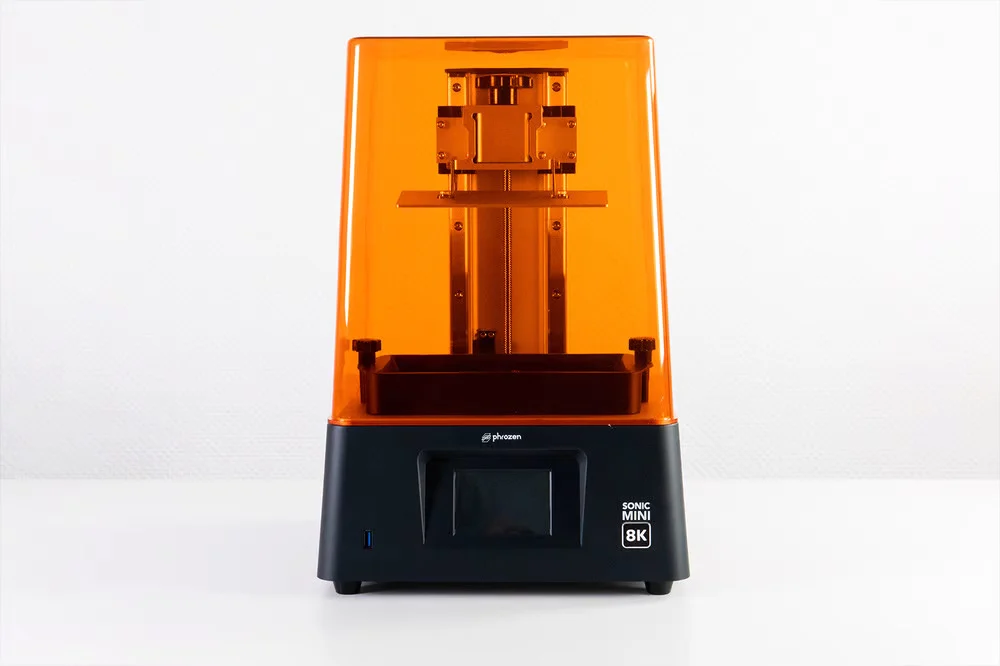
The Phrozen Sonic Mini 8K crams a high pixel count in a tiny display
We can talk about the specs and features of a 3D printer for as long as we want. But in the end, the real selling point is the price. We’ve compiled a little summary to show you the various options (and price ranges).
The Anycubic Photon Ultra (DLP) and the Phrozen Sonic Mini 8K (LCD) have very similar price points and target audiences. This makes them perfect for comparison. The Ultra is the first low-cost desktop DLP 3D printer, while the Mini 8K is one of the first 8K resin printers on the hobbyist market. Both printers aim to make an expensive and new technology more accessible to the broader public. And with a price point of less than $600, they’ve succeeded in just that.
The Photon Ultra is the only truly budget DLP printer available for now, and the price gap to reach the next level is significant. The Flashforge Hunter DLP is a $4,000 3D printer. While it introduces a few new compensation technologies for voxel distortion, the price point isn’t for everyone. Also, it’s based on an FHD projector. Even though other LCD resin printers in that price range – like the Peopoly Phenom Prime – use a 6K (or better) screen, there’s more to a DLP printer than the resolution on the XY coordinates, as we’ve discussed in the preceding sections.
It should be clear by now that DLP has barely broken into the consumer market. On the other hand, LCD printers have been around for quite a while and have had time to decrease in price and appreciate in quality.
Final Toughts
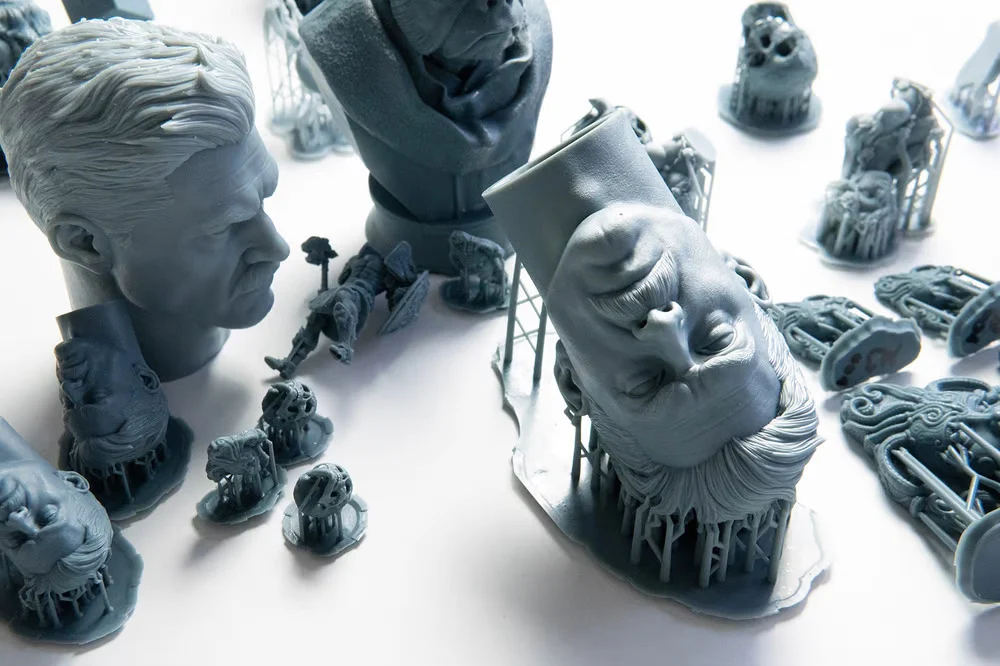
Got to have your head on the shoulders for this one
We’ve discussed a lot in this article, so here’s a recap of the most important points:
DLP and LCD resin printers have different advantages but suffer from specific drawbacks, specifically voxel distortion (DLP) and light bleed (LCD). This has an impact on the accuracy and tolerances that can be achieved.
The compatibility of printing material is based on the wavelength at which the printer’s UV emitter operates – usually 405 nm.
It’s recommended to keep in mind the technology in use while preparing and slicing an object.
There’s a machine for every price range. LCD 3D printers have more value per dollar on the cheaper side of the spectrum, while professional DLP printers implement better solutions to mitigate the technology’s drawbacks.
For consumers, DLP is still in the early stages, with the Photon Ultra being the only DLP option on the market (for now). LCD, on the other hand, is a perfectly viable way of achieving stunning results at a great price.
For professionals, the market for both LCD and DLP printers is very mature, with plenty of reliable machines and established brands out there. It’s also worth looking into SLA, given the great results and stunning accuracies.
Whatever your choice will be, remember to adopt the correct safety measures when handling resins!